Working Tools
Our selection of working tools includes high-
quality equipment and accessories designed to
tackle the needs of MAHLE´s products.
X35 System Tools
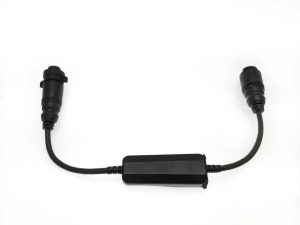
X35 GCU Cable
GCU Cable is an essential tool for Dealers, along with the TOOLKIT and the SMARTBIKE LAB APP. You need it for:
- Firmware Updates, please click here in order to update the bike as well as a USB FAT 32 (BELOW 32 GB).
- Activate new functionalities.
- Upload motor mapping remotely.

X35 MAHLE Toolkit
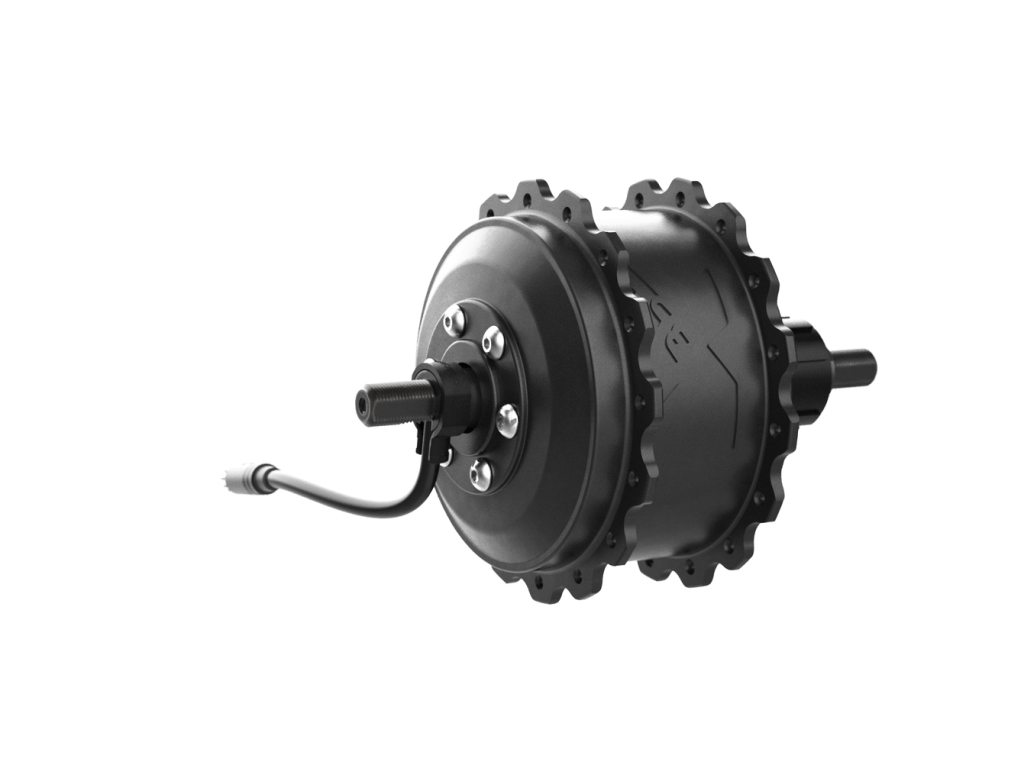
By using this special MAHLE TOOLKIT you can exchange the internal part of the engine without removing the engine (as a result, without lacing the wheel).
The freehub is always connected to the outer plate of the motor unit. If a freehub is damaged or has worn out bearings it is necessary to replace the whole unit.


How to Change the Inner Part of the Engine
- Use a Torx 25 Screwdriver to remove the 3 screws from the motor cover.
- Connect the three hole side of the tool to the drive side of the motor unit, using the long screws.
- Connect the six hole side of the tool to the non-drive side of the motor unit, using the short screws. (NOTE : If the engine is installed in the wheel, you don’t need to use the six-hole tool. You can hold the rim and use a hammer to loosen).
- Release the motor case by rotating counterclockwise.
- Release the tool and remove the internal engine.
How to Release the Free Wheel
- First, you will have to remove the internal part of the motor:
- Use a Torx 25 Screwdriver to remove the 3 screws from the motor cover.
- Connect the three hole side of the tool to the drive side of the motor unit, using the long screws.
- Connect the six hole side of the tool to the non-drive side of the motor unit, using the short screws. (NOTE : If the engine is installed in the wheel, you don’t need to use the six-hole tool. You can hold the rim and use a hammer to loosen).
- Release the motor case by rotating counterclockwise.
- Release the tool and remove the internal engine.
- Use a fixed wrench 17 and 15 to remove the axle lock nut.
- Use a nylon mace to release the freewheel.
X20 System Tools
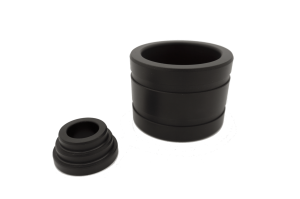
X20 Bottom Bracket Tool
You will need this tool to remove the Bottom Bracket from the ebikes with X20 System. The Bottom Bracket is the most critical part of the X20 System, since it could be damaged easily without the proper tools. Follow carefully the guidelines and instructions provided in order to avoid damages in the system.

How to Release the Bottom Bracket (BB Disassembly)
- Uninstall the crankset. If the assembly uses adapters or spacers, remove those too.
- Remove the bottom cover and carefully disconnect connectors between the torque and the battery.
- Choose the correct tool for the model of sensor to be removed and place on the NDS shell. Turning clockwise.
- Extract the Non-Drive Sides shell.
- Carefully remove the inner magnet ring with the hand without touching the outer face where magnets are installed.
- Ensure that the service tool kit is ready for use together with the press tool (you can use any standard press tool).
- Place the tools in the order shown in the picture.
- Start extracting the right cup by closing the press.
- Completely remove the right shell.
- Ensure the extraction of the Bottom Bracket and check that there is nothing left inside the bottom bracket that it is free of damage.
Important: use only MAHLE Bottom Bracket remover, do not use universal removers.
X20 Charger
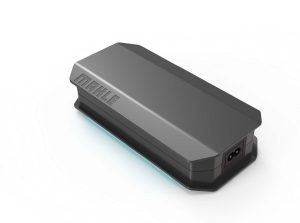
The Active Charger is designed not only to charge the bike, but also to update the System.
The micro-USB port on the charger provides an additional connecting point option to update the full eBike system directly. With the micro-usb port you can connect it to the PC. This cable isn’t provided by MAHLE.
If you wish to connect the charger to the PC, ensure you’re using a DATA CABLE (and not a Charging Cable). Otherwise the charger will be red.
